
No products in the cart.



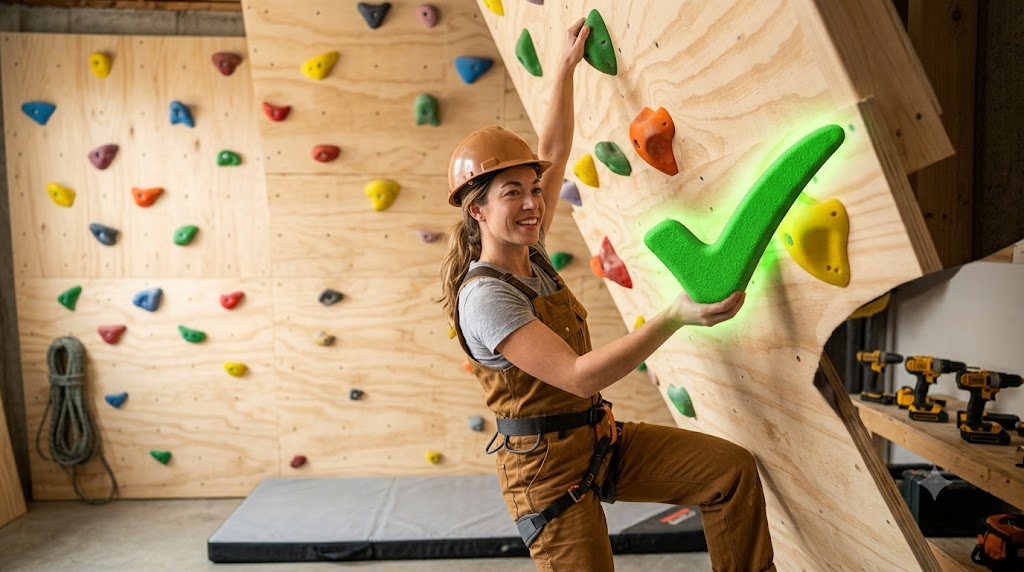
A home climbing wall is one of the most exciting DIY projects you can build for your house. Whether you are a fitness enthusiast, an adventure lover, or a parent looking for a fun activity for your family, a DIY climbing wall can completely transform an ordinary space into an exciting training and entertainment area.
Unlike traditional home gym equipment that often gets ignored after a few months, a climbing wall keeps you engaged because every climb feels like a new challenge. It improves strength, balance, coordination, and problem-solving skills while providing a fun activity for both children and adults.
The best part is that you do not need a massive budget or a professional gym setup. A garage corner, basement wall, spare room, or backyard area can become your personal climbing zone with the right planning and materials.
A well-designed climbing wall can also become a unique feature of your home. It adds personality to your space while giving you a practical fitness solution that you can use anytime without paying expensive gym fees.
This complete DIY guide will explain everything you need to know — from choosing the perfect location and selecting materials to building the frame, installing climbing holds, ensuring safety, and maintaining your wall for years.
By the end of this guide, you will have a clear understanding of how to create a safe, durable, and enjoyable home climbing wall.
Before starting your DIY project, it is important to understand why climbing walls have become popular among homeowners.
Climbing gyms can become expensive, especially with monthly memberships and travel costs. A home climbing wall requires an initial investment but allows unlimited practice without recurring fees.
Instead of spending money every month, you can enjoy climbing whenever you have free time.
Climbing is one of the best natural workouts because it engages multiple muscle groups at the same time.
A climbing wall helps improve:
Unlike repetitive workouts, climbing keeps your body and mind active.
A home climbing wall is not only for experienced climbers. Children and beginners can also enjoy it when designed safely.
It helps kids develop:
It can become a fun family activity instead of another unused piece of exercise equipment.
Selecting the correct location is the most important step because safety depends on the strength and structure of your installation area.
A garage is one of the most popular choices because it usually has:
Basements provide privacy and protection from outdoor weather.
A dedicated indoor climbing area can work well if the walls and flooring are properly reinforced.
Outdoor climbing walls can be exciting but require weather-resistant materials.
Before building, consider:
Standard drywall is not designed to support climbing forces. The wall must connect securely to studs or a specially built wooden frame.
Higher ceilings allow more challenging designs, including angled climbing sections.
A safe landing area is essential. Hard surfaces such as concrete should always have protective padding.
Good lighting helps prevent accidents, while proper airflow keeps the climbing area comfortable.
A basic DIY climbing wall requires the following materials:
A climbing wall experiences repeated pulling, pushing, and body weight pressure. Using weak materials may create dangerous situations over time.
Investing in strong plywood, reliable hardware, and quality climbing holds will improve both safety and durability.
The frame is the backbone of your climbing wall.
The frame should transfer climbing forces into the floor and wall studs rather than relying on weak surfaces.
Never rush this step — a strong foundation determines the safety of the entire project.
Once your frame is complete, install the plywood sheets.
Plywood is preferred because it is strong, affordable, and easy to customize.
T-nuts allow you to attach and rearrange climbing holds whenever you want.
A common spacing pattern is around 8 inches apart, allowing many different climbing routes.
Proper T-nut installation makes your climbing wall flexible and easier to upgrade.
This is the most creative part of the project.
You can create different climbing routes by changing:
The ability to rearrange holds means your climbing wall can continue providing new challenges for years.
Safety should always be your top priority.
Use thick crash pads or foam mats underneath the wall.
Keep the climbing area free from:
Inspect:
Regular checks prevent accidents.
Best for beginners.
Advantages:
Designed for experienced climbers.
Benefits:
Requires a stronger frame because of increased force.
Allows angle changes.
Benefits:
A climbing wall requires regular care.
Follow these steps:
Proper maintenance increases safety and extends the life of your climbing wall.
The cost depends on size and design.
$100–$200
Includes:
$200–$500
Includes:
$500+
Includes:
Starting small and upgrading later is often the smartest approach.
A climbing wall can become one of the most loved features in your home.
Benefits include:
A safe climbing wall provides children with an exciting challenge while helping them develop important physical skills.
Avoid these common DIY mistakes:
❌ Using weak plywood
❌ Installing without proper framing
❌ Ignoring safety mats
❌ Poor hold spacing
❌ Not checking bolts regularly
Careful planning prevents expensive repairs and safety problems.
Building a home climbing wall is a rewarding DIY project that combines fitness, creativity, and family fun. With strong materials, proper planning, and careful installation, you can create a climbing experience that feels like a professional gym inside your own home.
The key to success is not building the biggest wall — it is building a safe and durable wall that matches your space and skill level

Leave a comment